
Welcome! This manual guides you through operating and maintaining your Craftsman lawn mower, ensuring optimal performance and longevity. Refer to model-specific details carefully.
Understanding This Manual
This operator’s manual is a vital resource for all Craftsman lawn mower owners. It provides crucial safety information, detailed assembly instructions, and comprehensive operating guidelines. Familiarize yourself with all symbols and warnings presented throughout this document before operating the machine.
The manual details component identification, pre-start checks (fuel, oil levels), starting procedures, and effective mowing techniques. A dedicated section outlines a preventative maintenance schedule – including oil changes, blade care, and air filter servicing – to ensure peak performance.
Troubleshooting guidance assists in resolving common issues. Specific model information, including parts diagrams (like those for model 944.360480), is also included for targeted support. Keep this manual accessible for future reference.
Safety Precautions
Prioritize safety! Always read and fully understand all safety rules and instructions before operating your Craftsman lawn mower. Never operate the mower without proper protective gear, including eye protection and sturdy footwear. Ensure the mowing area is clear of objects and people.
Crucially, never start or run the engine indoors or in poorly ventilated areas. Always disconnect the spark plug wire before performing any maintenance or adjustments. Never operate the mower with a damaged safety shield or missing parts.
Warning: Do not operate the mower without oil or gasoline in the engine. Be mindful of hot surfaces and moving blades. Follow all caution statements diligently to prevent injury.
Lawn Mower Components

Explore your mower! Key components include the engine, deck and blade assembly, control panel, starter handle, and housing – each vital for operation;
Engine Overview
Understanding the Power Source: Your Craftsman lawn mower is equipped with a powerful engine, typically ranging from 13.5 to 21 horsepower, depending on the model (like 536.270320 or 944.360480). This engine is the heart of the machine, responsible for driving the blade and providing the necessary cutting force.
Key engine components include the starter handle, used for initiating the combustion process, and the oil reservoir, crucial for lubrication and preventing engine wear. Always ensure proper oil levels before operation. The engine also features a fuel system, requiring gasoline for combustion. Refer to the pre-start checks section for fuel and oil guidelines. Proper maintenance, including oil changes, is vital for extending engine life.
Deck and Blade Assembly
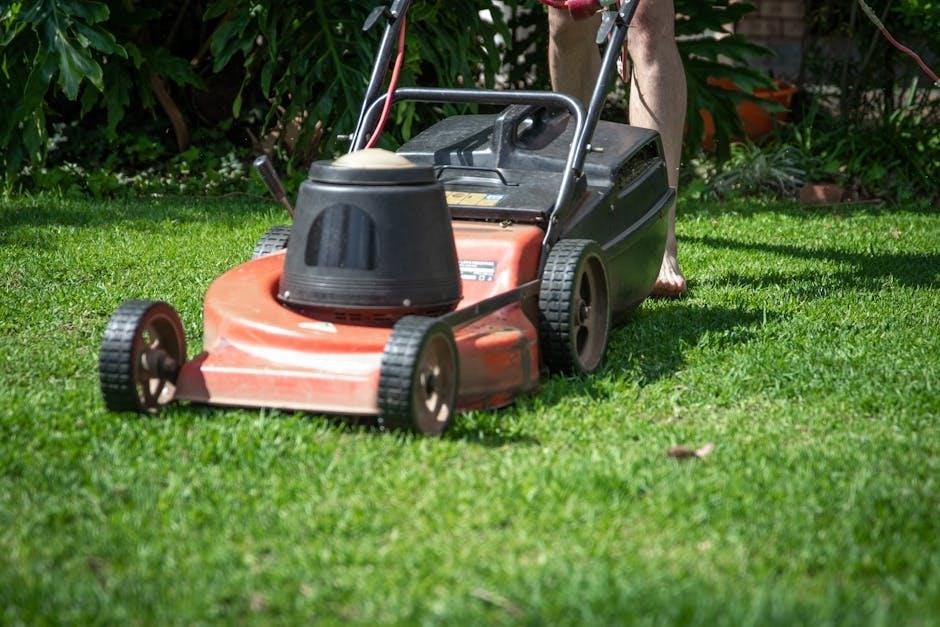
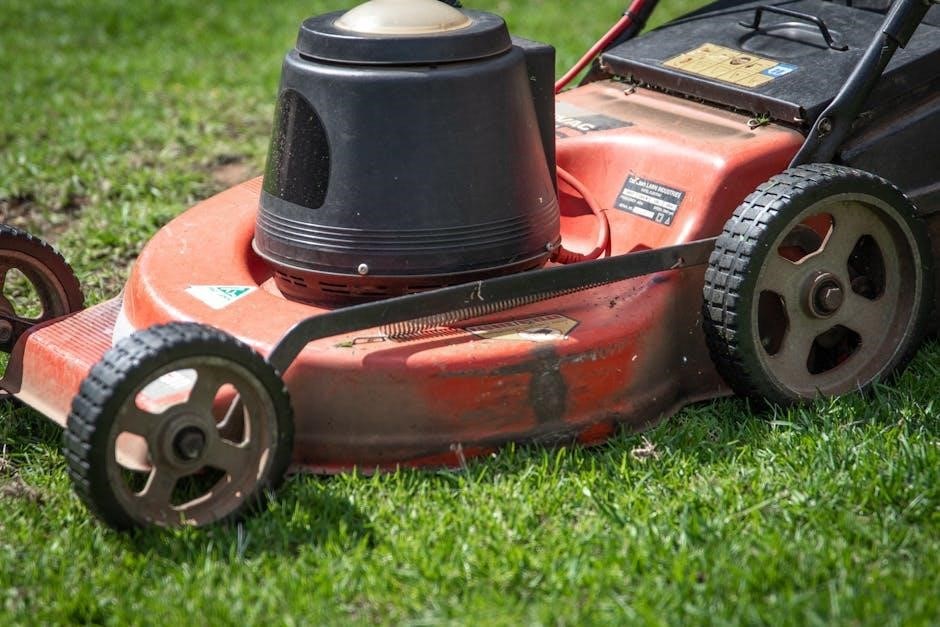
The Cutting System: The deck is the housing that surrounds the blade, directing airflow for efficient cutting and discharge. Deck sizes vary, commonly 30 or 42 inches, impacting mowing width. The blade itself is a critical component, responsible for the actual cutting action.
Regular inspection and maintenance of the blade are essential for safety and performance. Sharpening the blade ensures a clean cut, while replacement is necessary when damaged. The housing assembly (referenced in parts lists) protects the blade and operator. Always disconnect the spark plug before working on the blade or deck. Refer to the maintenance section for detailed blade care instructions.
Control Panel Explained
Understanding the Controls: Your Craftsman lawn mower’s control panel houses essential operating features. The starter handle initiates the engine, while other controls manage speed, blade engagement, and forward/reverse motion (on riding models). Familiarize yourself with each control’s function before operation.
Look for clearly labeled switches and levers. Some models feature electric start, utilizing a key or button. Safety interlocks prevent operation unless certain conditions are met (e.g., seat engaged on riding mowers). Always refer to the diagrams within this manual for precise control locations and functions specific to your model number, like 944.360480.
Assembly Instructions
Carefully unpack and review all components; Attach the handle, install the grass catcher, and adjust wheels per the diagrams for safe operation.
Attaching the Handle
Begin by carefully removing the handle assembly from the packaging. Locate the handle mounting points on the lawn mower’s chassis – these are typically reinforced metal brackets. Align the handle with these brackets, ensuring the control panel faces the operator as intended.
Secure the handle using the provided bolts and washers. Tighten these fasteners firmly with a wrench, but avoid over-tightening, which could damage the brackets. Double-check that the handle is securely attached and doesn’t wobble. A properly secured handle is crucial for safe and comfortable operation.
Finally, verify that all control cables move freely without obstruction after handle installation. This ensures responsive steering and braking functionality.
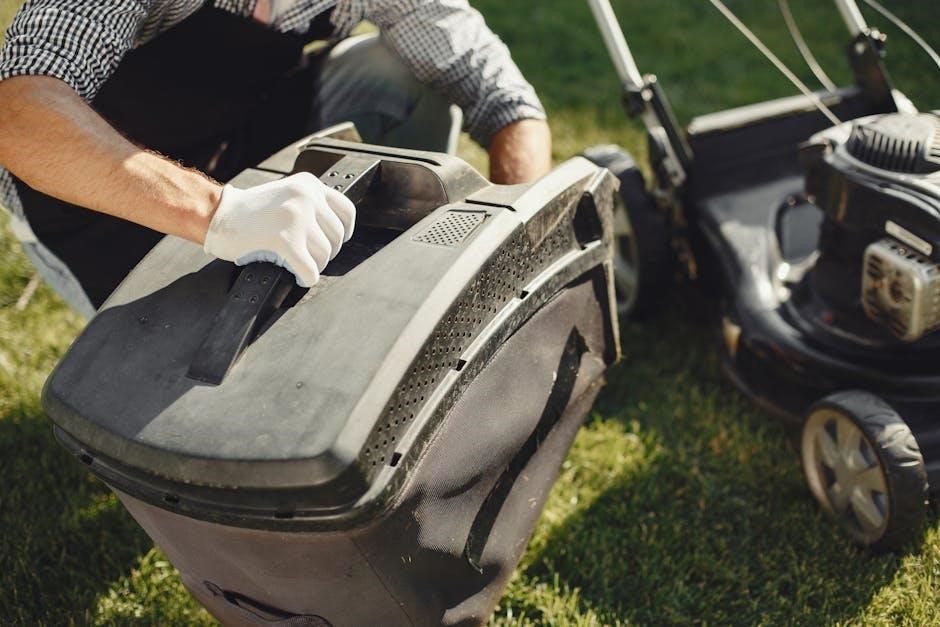
Installing the Grass Catcher
To begin, identify the grass catcher frame and bag. Locate the mounting hooks or brackets on the rear of the lawn mower deck – these are designed to securely hold the grass catcher. Carefully align the grass catcher frame with these mounting points.
Attach the frame by hooking it onto the brackets, ensuring it clicks or locks into place. Then, slide the grass bag onto the frame, making sure it’s fully seated and supported. A secure attachment prevents clippings from escaping during operation.
Verify the grass catcher is firmly attached before starting the mower. Regularly empty the bag to maintain optimal mowing performance.
Wheel Adjustment
Proper wheel adjustment ensures a level cut and comfortable mowing experience. Locate the height adjustment levers on each wheel – these levers control the cutting height of the deck. To raise or lower the deck, simultaneously adjust all four wheels to maintain a consistent cutting height.
Select your desired cutting height based on your lawn conditions. Higher settings are suitable for longer grass, while lower settings provide a closer cut. Ensure all wheels are set to the same height to avoid scalping or uneven cutting.
Periodically check wheel adjustments, especially after transporting the mower.
Starting and Operating
Before each use, verify oil and fuel levels. Engage the starter, following safety guidelines, to begin mowing and achieve a pristine lawn;
Pre-Start Checks (Oil, Fuel, etc.)
Prior to starting your Craftsman lawn mower, several crucial checks are essential for safe and efficient operation. First, always ensure the oil level is within the recommended range, using the dipstick to verify. Insufficient oil can cause severe engine damage. Next, check the fuel level and use fresh gasoline; avoid fuel that’s been sitting for extended periods.
Inspect the air filter for cleanliness; a dirty filter restricts airflow and reduces performance. Examine the blade for sharpness and any signs of damage – a dull or damaged blade leads to an uneven cut. Finally, visually inspect the mower deck and surrounding areas for any obstructions or loose parts. Never operate the mower without these pre-start checks completed!
Starting the Engine
To start your Craftsman lawn mower, first ensure the parking brake is engaged. Locate the starter handle or electric start button, depending on your model. If using the starter handle, give it a firm, steady pull – avoid jerking. For electric start, hold the safety bail and press the start button.
If the engine doesn’t start after a few attempts, check the fuel supply and spark plug connection. Never continuously crank the engine for extended periods, as this can damage the starter. Allow the engine to warm up briefly before engaging the blades. Always maintain a safe distance from the mower during startup.
Mowing Techniques
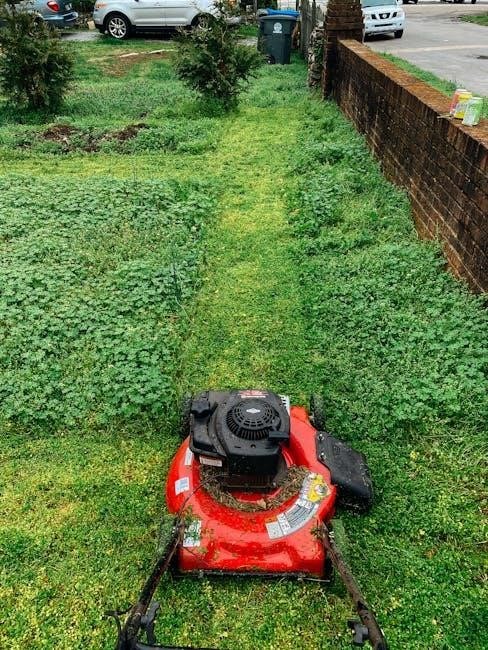
For a healthy, even cut, overlap each mowing pass by a few inches. Maintain a consistent walking speed to avoid scalping the lawn. Adjust the cutting height to suit your grass type and desired length – higher cuts promote deeper root growth. Avoid mowing wet grass, as it can clog the deck and result in an uneven finish.
When turning, lift the mower deck slightly to prevent damage. Regularly empty the grass catcher to maintain optimal performance. Always be aware of your surroundings and clear the mowing area of any obstacles before starting. Prioritize safety and avoid steep slopes.
Maintenance Schedule
Regular upkeep is crucial for longevity! This section details oil changes, blade sharpening, filter cleaning, and spark plug checks – ensuring peak performance.
Oil Change Procedure
Maintaining proper oil levels is vital for engine health. First, warm the engine slightly for easier draining. Locate the oil drain plug, typically underneath the mower, and position a suitable oil drain pan. Carefully remove the plug, allowing the old oil to completely drain.
Once drained, replace the plug and tighten securely. Next, locate the oil fill cap, remove it, and slowly pour in the recommended oil type and quantity – consult your model’s specifications. Avoid overfilling! Use a dipstick to verify the correct oil level. Properly dispose of the used oil at a designated recycling center. Regular oil changes, as per the maintenance schedule, will significantly extend your mower’s lifespan.
Blade Sharpening and Replacement
A sharp blade ensures a clean cut and healthy lawn. Before any blade work, disconnect the spark plug wire for safety! Remove the blade using a wrench, noting its orientation for correct reinstallation. Inspect the blade for damage – cracks or severe bending necessitate replacement.
To sharpen, use a metal file or a blade grinder, maintaining the original angle. Ensure balanced sharpening to prevent vibration. When installing a new or sharpened blade, tighten the bolt to the manufacturer’s specified torque. Regularly inspect and maintain blades; dull or damaged blades strain the engine and produce an uneven cut.
Air Filter Cleaning/Replacement
A clean air filter is crucial for engine performance. Regularly check the air filter – typically after every 25 hours of use, or more frequently in dusty conditions. Remove the filter cover and inspect the filter element. If the filter is lightly soiled, gently tap it to remove debris, or use low-pressure compressed air, blowing from the inside out.
If the filter is heavily soiled or damaged, replace it with a new one. Ensure the replacement filter is the correct type for your model. Reinstall the clean or new filter and secure the cover. A clogged air filter restricts airflow, leading to reduced power and increased fuel consumption.
Spark Plug Maintenance
Regular spark plug maintenance ensures reliable engine starting and efficient combustion. Inspect the spark plug every 100 hours of operation, or annually. Remove the spark plug and examine the electrode for wear, fouling, or damage. Clean a lightly fouled plug with a wire brush, ensuring the gap remains correct – consult your engine specifications for the proper gap setting.
If the spark plug is heavily worn, cracked, or excessively fouled, replace it with a new one of the correct type. Properly gap the new spark plug before installation. A faulty spark plug can cause hard starting, misfiring, and reduced engine power.

Troubleshooting Common Issues
Addressing problems promptly keeps your mower running smoothly. This section details solutions for engine starting failures, uneven cuts, and excessive vibrations.
Engine Won’t Start
If your Craftsman lawn mower engine fails to start, several factors could be at play. First, verify the fuel tank isn’t empty and that the fuel shut-off valve (if equipped) is open. Check the oil level – engines with low oil often have safety mechanisms preventing startup.
Inspect the spark plug for fouling or damage; a replacement may be necessary. Ensure the spark plug wire is securely connected. Confirm the starter handle (or electric start switch) is functioning correctly. If using the electric start, check the battery charge and connections. Finally, examine the air filter for obstructions, as a clogged filter restricts airflow and hinders starting. Refer to the maintenance section for detailed cleaning instructions.
Uneven Cut
An uneven cut with your Craftsman lawn mower typically indicates an issue with the blade or deck. First, inspect the blade for dullness, damage (nicks or bends), or improper installation. A dull blade tears grass instead of cutting cleanly. Sharpen or replace the blade as needed, ensuring correct installation and torque.
Check the deck for obstructions like accumulated grass clippings. Ensure the deck is level – an unlevel deck causes scalping in some areas. Adjust wheel heights to maintain a consistent cutting height across the lawn. Also, verify tire pressure is even. Finally, mowing too quickly can also result in an uneven cut; reduce your mowing speed.
Excessive Vibration
Significant vibration during operation signals a potential mechanical problem. Initially, ensure the blade is securely fastened and balanced. An unbalanced blade is a common cause of vibration. Inspect the engine mounting bolts for looseness; tighten them to the manufacturer’s specifications. Check for debris lodged within the mower deck, as this can create imbalance.
Examine the blade adapter for damage or wear. If the vibration persists, investigate the engine itself – worn engine components can contribute. Do not operate the mower if excessive vibration continues, as it indicates a serious issue requiring professional attention. Ignoring it could lead to further damage.

Specific Model Information (Example: 944.360480)
Refer to this section for details unique to your model, including features, parts diagrams, and specific maintenance recommendations for optimal performance.
Model-Specific Features
Your Craftsman lawn mower, model 944.360480, boasts several key features designed for efficient and convenient lawn care. This model includes a robust engine, ensuring reliable power for tackling various grass types and terrains. The deck assembly is engineered for optimal airflow, contributing to superior cutting performance and even grass distribution.
Pay close attention to the starter handle for easy engine ignition, and always ensure the engine has sufficient oil and gasoline before operation. Specific housing assemblies, like those referenced in parts lists, contribute to the mower’s durability. Furthermore, this model may include a rear door assembly kit for enhanced safety and debris management. Consult the parts diagrams for precise component locations and identification.
Parts Diagrams (Referencing Model Number)
Detailed parts diagrams for model 944.360480 are crucial for maintenance and repair. These diagrams, often found within supplemental documentation or online resources, illustrate the precise location and identification of each component. Key assemblies, such as the housing assembly (including references 17, 18, and 46), are clearly depicted.
Individual parts, like the 3/8-24 x 1-3/8 Grade 8 hex head screw, are also shown, aiding in accurate replacement. Referencing these diagrams alongside the parts list ensures you order the correct components; Always verify the model number before ordering to avoid compatibility issues. Online resources like Manuals Library and Internet Archive may host these diagrams for older models.

Winter Storage
Proper winterization is key! Prepare your Craftsman for long-term storage by stabilizing fuel and performing essential maintenance to prevent damage.
Preparing for Long-Term Storage
Before storing your Craftsman lawn mower for the winter, thorough preparation is crucial. Begin by cleaning the mower deck, removing any accumulated grass clippings and debris. This prevents corrosion and ensures the deck remains in good condition. Next, check and tighten all bolts and fasteners.
Drain the fuel tank completely, or add a fuel stabilizer to prevent fuel degradation during storage. Run the engine briefly after adding stabilizer to circulate it through the system. Disconnect the spark plug wire to prevent accidental starting. Change the oil, as old oil contains contaminants that can cause corrosion. Finally, store the mower in a dry, sheltered location, covering it to protect it from dust and the elements.
Fuel Stabilization
Proper fuel stabilization is vital for long-term mower storage, preventing fuel degradation and carburetor issues. Gasoline naturally breaks down over time, forming gum and varnish deposits that can clog the fuel system. To combat this, add a commercially available fuel stabilizer to the gasoline in the fuel tank before storing the mower.
Follow the stabilizer manufacturer’s instructions regarding the correct fuel-to-stabilizer ratio. After adding the stabilizer, run the engine for a few minutes to ensure the treated fuel circulates throughout the carburetor and fuel lines. This distributes the stabilizer and protects the entire fuel system during extended periods of inactivity.

Warranty Information
Your Craftsman lawn mower is covered by a warranty against defects in materials and workmanship. See included documentation for specific coverage details and claim procedures.
Coverage Details
This warranty covers defects in materials and workmanship for a specified period, beginning from the original purchase date. The duration varies depending on the specific component and model – refer to your separate warranty card for precise timelines. Generally, engine components receive more extensive coverage than wearable parts like blades or belts.
The warranty is valid only for the original purchaser and is non-transferable. It requires proof of purchase, such as a dated sales receipt. Damage resulting from misuse, improper maintenance (like failing to change the oil), accidents, or unauthorized repairs are explicitly excluded. Modifications to the lawn mower will also void the warranty.
Coverage includes repair or replacement of defective parts, at Craftsman’s discretion. Transportation costs to and from a service center are typically the owner’s responsibility.
Claim Process
To initiate a warranty claim, first locate an authorized Craftsman service center. A list can be found on the Craftsman website or by contacting their customer support line. Have your model number (e.g., 944.360480) and proof of purchase readily available.
The service center will inspect the lawn mower to verify the defect and determine if it’s covered under warranty; They will then provide an estimate for repair or replacement. Craftsman may require prior authorization for certain repairs.
Submit all documentation – including the proof of purchase, service center report, and any requested photos – to Craftsman’s warranty department. Allow sufficient time for processing; claim resolution times vary. Keep copies of all submitted materials for your records.